How to build a raised bed garden
Growing your garden in a raised bed reduces the threat of lead contamination posed by city soil.
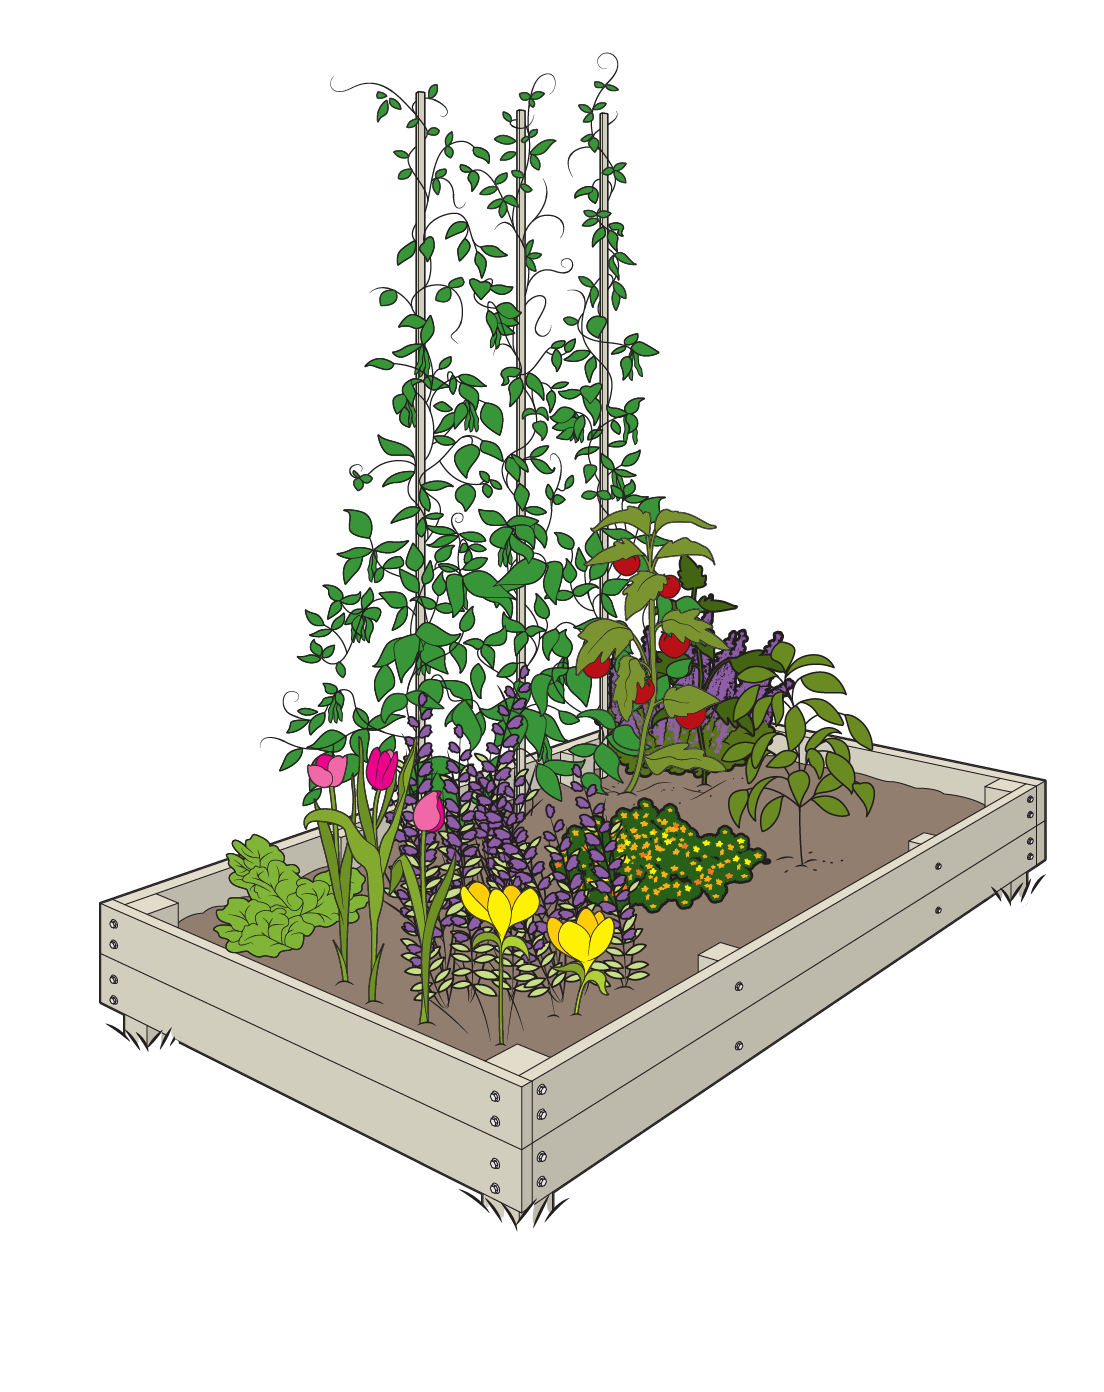
A garden bed usually refers to a raised structure that surrounds fertile and compost-enriched soil for growing. A raised garden can be used to plant vegetables, herbs, or flowers.
Raised beds have many benefits. First, they tend to be easier on the gardener’s body, eliminating the need to bend over or walk on the planted soil.
The close proximity of the plants tends to yield better growing results compared with conventional gardens. Raised garden beds enjoy increased sun exposure, which warms the soil faster and tends to extend the growing season. A raised garden also enjoys better drainage, which is built into the bed walls. The garden bed walls hold the soil in place to eliminate erosion. Growing your garden in a raised bed also reduces the threat of lead contamination posed by city soil.
Making a raised garden bed is easy and can be accomplished in a few hours. My preference is to use a naturally occurring insect- and rot-resistant wood species such as redwood or cedar and fasteners that won’t rust.
Avoid creosote-treated railroad ties. Pressure-treated wood infused with alkaline copper quaternary has been rated to be safe for food crops, but if you use this pressure-treated wood, you may want to line the bed interior with landscape fabric to prevent soil contact.
Raised gardens can be 6 inches to waist-high. We will show you how to build a 6-inch-high garden bed that is 4-by-8-feet long.
Materials and tools
■ One 4-by-4 post that is 8 feet long
■ One 2-by-4 piece of support stock that is 8 feet long
■ Six 2-by-6 pieces of board stock for sides that are 8 feet long
■ Saw
■ 3½-inch GRK screws with large heads or Timberlok fasteners
■ 3½-inch screws or Timberlok-style self-driving lag fasteners
■ Screwdriver
■ Impact driver (only if you are using Timberlok-style fasteners)
■ A roll of ¼-inch-square galvanized wire mesh
■ Cuprinol wood preservative
■ Tin snips
■ Shovel/post-hole digger
■ Dirt rake
■ Soil and compost
Location
Installing your raised bed on a flat spot eliminates a lot of laborious digging. A north-south orientation gives good sun exposure. Leave at least 18 inches between beds for walking and 24 inches in between for wheelbarrows or a lawn mower.
Assembling the raised bed
1. Cut the 4-by-4 posts to 2-feet long. This allows you to have 11 inches to mount your sides two boards high, and then gives you 13 inches of post to be buried in the ground for stability. Cut two of the 2-by-6 pieces, so that you have four 4-foot-long pieces. Cut the 2-by-4 support stock into four 10-inch-long pieces.

2. It’s best to assemble the bed upside down. Set a 4-foot 2-by-6 on edge, and secure one 16-inch 4-by-4 post at one end. Secure post with two 3½-inch screws or Timberlok-style self-driving lag fasteners.

The 4×4 posts offer stability and assist in keeping the side walls from bowing outward from the soil pressure. Do this procedure for the opposite end of the raised bed.
3. Fasten your 8-foot board to a post. Do this procedure for the other long side. Use the 10-inch cuts in the midsection of the boards as supports, and fasten the 2-by-6 side boards to them with the GRK fasteners.

4. If desired, treat cut post ends with wood preservative and let dry. Line the bed bottom with inch galvanized-steel hardware cloth to keep out critters; trim the cloth with tin snips to fit around the 4-by-4 posts. Use GRK screws to fasten and hold the wire mesh.

5. Flip the raised garden bed right side up and position at its resting location. Mark the leg locations, move, and dig four 6-inch-deep holes for each post. Insert the raised garden bed into these holes.

Level the sides of the bed to prevent water runoff or ponding. Put the bed back into place, with posts in holes, and then fill in the holes.
6. Fill the bed with a soil-and-compost blend, and level it with a rake.

Irrigation
A simple, inexpensive setup using a hose-faucet attachment with a series of back-flow valves and a timer will work well. Connect your system to a soaker hose or a custom ½-inch PVC pipe system with holes drilled in the pipe.
Moisture retention with a raised garden bed is important, because raised beds tend to drain faster than conventional gardens. Positioning your beds in a straight line can simplify things. Irrigation can be set on a timer to eliminate the need to turn it on and off. Cover your irrigation pipe or hose with mulch to keep the soil moist.
Rob Robillard writes the Ask the Carpenter column in the Boston Sunday Globe’s Address section. He is a general contractor, carpenter, editor of AConcordCarpenter.com, and principal of a carpentry and renovation business. Subscribe to our newsletter at pages.email.bostonglobe.com/AddressSignUp.


To comment, please create a screen name in your profile
To comment, please verify your email address
Conversation
This discussion has ended. Please join elsewhere on Boston.com